


Learn How To Rename Windows 10 Computer
If you want to rename your Windows 10 Laptop/PC, follow these easy steps
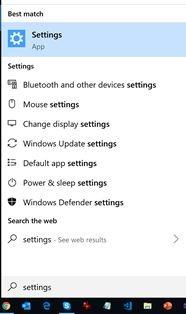
Step 1: Go to windows 10 settings
Search “Settings” in Windows search. Click “Settings”
Step 2: Click or Select “System” On Windows Setting Screen
After clicking on “System”, you will see options like Display, Sound, Battery, Storage and many more…
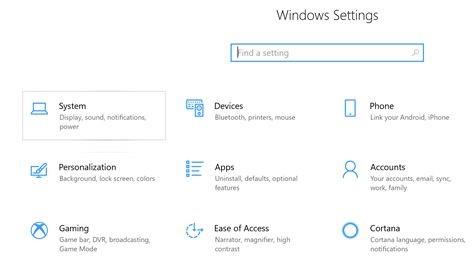
After click on “System”, it allows you Display, sound, Battery, Storage, and many more options…
Step: 3 Click on the “About” (Last Option) On the screen
The last option on the screen is “About” that contains details about the computer.
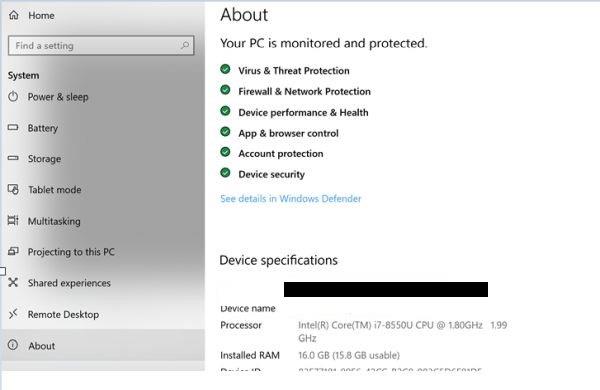
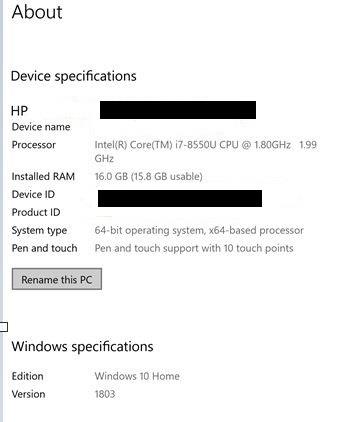
Step 4: View the screen & scroll down. Find & Hit “Rename This PC”
You will see various Details of the computer- Security Status and device specifications like as The Device name, Processor, Ram, ID, System type & so on.
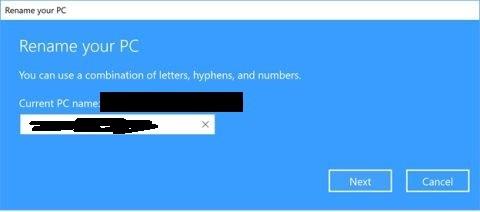
Step 5: Rename your PC
A popup window will open where you can See Your Current PC name and Edit the New name of your PC. After entering the New Name, click the Next button.
Step 6: That’s all, Restart your PC
On the Next Screen, you will see options that your system will be renamed after Restart your PC. You can select one option from two “Restart now” for Now or “Restart Later” for later.

After Restart, Your Device Name will be Changed!
Yes, You Have Done!
