


Static Files In wwwroot Folder ASP.NET MVC Core 3.1
Introduction
Today, in this article, we will learn about the wwwroot folder and static files like CSS, JS, images and font style, etc. By default, an asp.net core application will not serve static files. The default directory for static files is wwwroot and this directory must be in the root project folder.
Step 1
Startup Visual Studio 2019. Choose ASP.NET Core Web Application and click on “Next”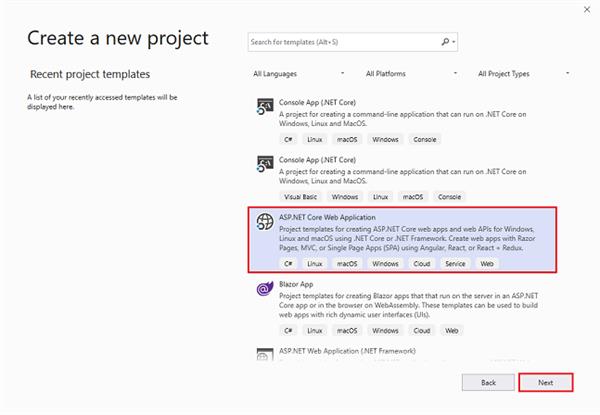
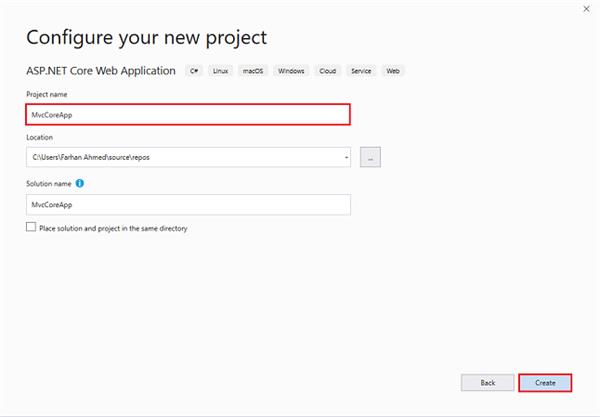
After clicking next, another wizard will open. Under the project name give a meaningful name to your project and click on create.
That will open up another new wizard select ASP.Net Core 3.1 from the dropdown if not select default. Choose an empty template and click on create that will create your first ASP.Net Core Application.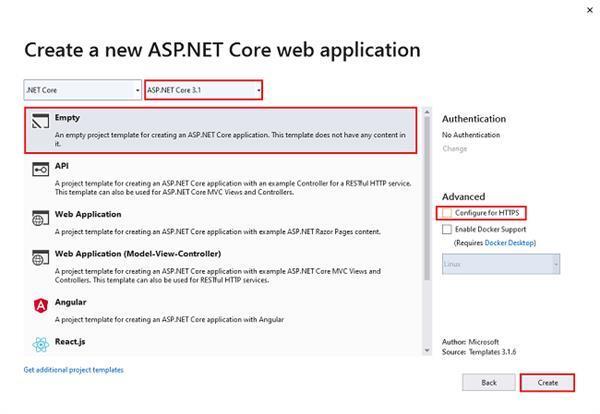
Step 2
Visual Studio 2019 will generate a program and startup class. Now open the startup file and configure ASP.Net MVC Core Application development. This will be under the app.UseEndpoints method just Map endpoints.MapControllerRoute.
using System;
using System.Collections.Generic;
using System.Linq;
using System.Threading.Tasks;
using Microsoft.AspNetCore.Builder;
using Microsoft.AspNetCore.Hosting;
using Microsoft.AspNetCore.Http;
using Microsoft.Extensions.DependencyInjection;
using Microsoft.Extensions.Hosting;

namespace MvcCoreApp
{
    public class Startup
    {
        public void ConfigureServices(IServiceCollection services)
        {
            services.AddControllersWithViews();
        }

        public void Configure(IApplicationBuilder app, IWebHostEnvironment env)
        {
            if (env.IsDevelopment())
            {
                app.UseDeveloperExceptionPage();
            }

            app.UseRouting();
            // Add Static Files Middleware
            app.UseStaticFiles();

            app.UseEndpoints(endpoints =>
            {
                endpoints.MapControllerRoute(
                    name:"default",
                    pattern:"{controller=Home}/{action=index}/{id?}"
                    );
            });
        }
    }
}
Step 3
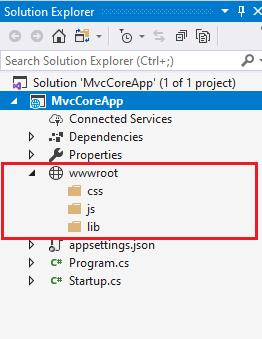
Right-click on the project and “Add” a folder. Name it wwwroot, Visual Studio automatically generates an icon on wwwroot folder. Under wwwroot folder, “Add” 3 more folders with the names CSS, JS, and lib. Instead of having all file types like images, CSS, and JavaScript files flat in the wwwroot folder, it is good practice to have separate folders for CSS, images, and JavaScript under wwwroot.
Step 4
Right-click on the project, choose “Add,” then select Client-Side-Library click on it. Now a window wizard will appear. Add Client-Side-Library.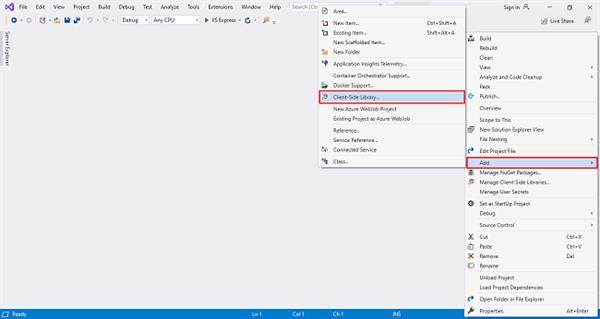
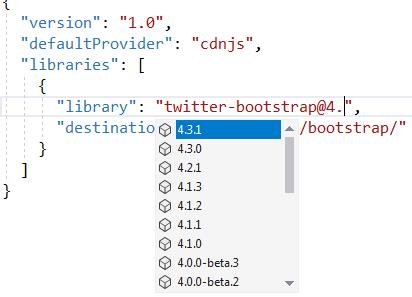
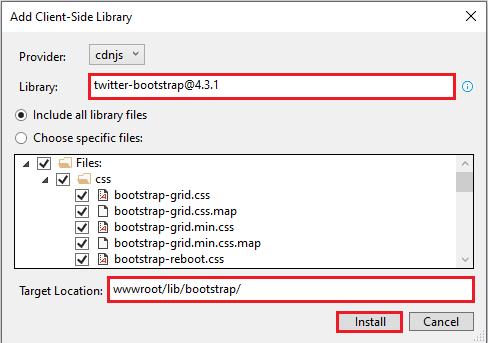
Type a library name you want to install like twitter bootstrap, JQuery, etc. However, you can manually type the version you want. You also have intelligence support. It will install the latest version. You can either include "All the library files" or "Just the files you need" In the "Target Location" text box specify the folder where you want the library files to be copied. Recollect, by default static files are only served from the wwwroot folder. Now click on the install button. It will be added in lib folder under wwwroot folder. Similarly, you can install any plugin or JavaScript library files.
Visual Studio will add a file called libman.json is the Library Manager manifest file. Notice in the manifest file we have an entry for the Bootstrap client-side library that we just installed. We can also directly edit the manifest file to install client-side packages, instead of using the user interface provided by LibMan. 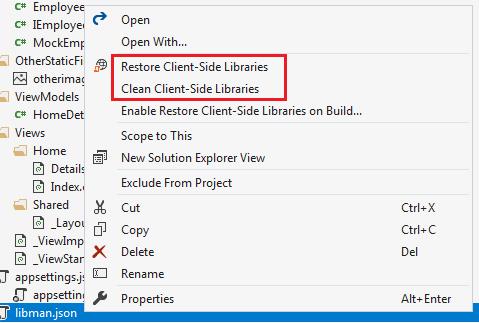
Step 5
To clean and restore client-side libraries or files just right click on libman.json file and select "Clean Client-Side Libraries" from the context menu. The clean operation deletes the library files from the destination folder. However, the entries in libman.json will not be deleted.
Step 6
If you want to restore the deleted files for that right click on libman.json file and select "Restore Client-Side Libraries" from the context menu. The restore operation will download and copy the library files into the specified destination folder.

Step 7
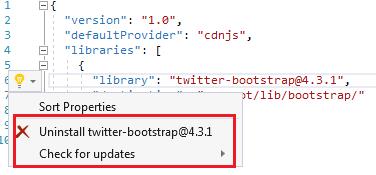
If you want to uninstall or update a client-side library open libman.json file than click on the client-side library you want to uninstall a light bulb icon appears. Now click on the light bulb icon and you will have options to either update or uninstall that specific client-side library.
You can also just delete the client-side library entry in the libman.json file and upon saving the file, the respective client-side library will be uninstalled.
Similarly, to upgrade or downgrade a client-side library, you can directly change the version number in the libman.json file. Upon saving the file, the respective client-side library is updated to the version specified. You will also have intelligence when editing the version number in Visual Studio.