


Step by step creation of Virtual Machine using Azure CLI
Welcome, this tutorial has all the possible Azure CLI commands to spin-up a new Virtual Machine. I trust, after taking all the steps sequentially, you will be able to provision Virtual Machine independently and very easily.
To create a new resource group
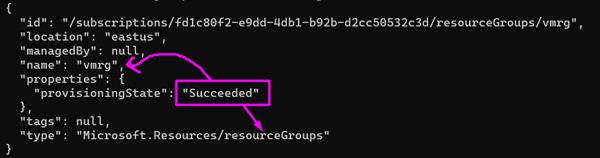
PS C:\Users\dell> az group create --name vmrg --location eastus
Output in terminal window
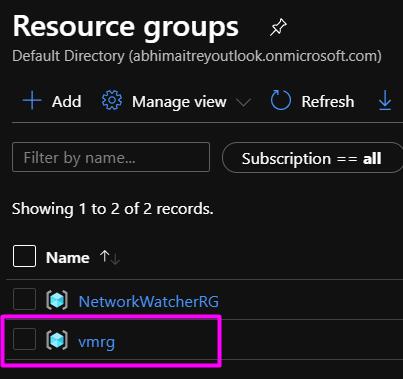
Output on Azure Portal
To create a new virtual machine
az vm create --resource-group vmrg --name winserver --image win2016datacenter --admin-username azureuser
We have given the admin user name as “AzureUser”. Once you execute the command, it would ask for Admin Password and to confirm it. Once your both the passwords match, it will start running the Azure CLI script in the background. This process will take some time in provisioning the VM. After successful creation of VM, it will produce the output like this:
Output in terminal window

Output on Azure Portal
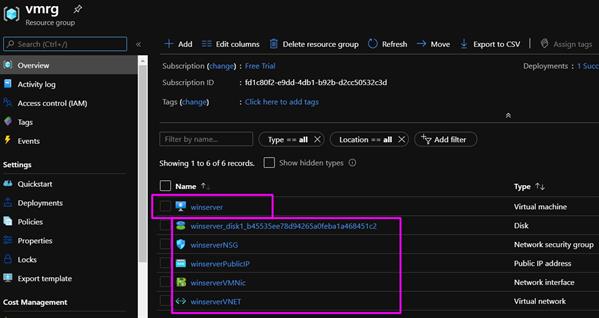
Important note: While provisioning a Virtual Machine, the other supportive resources shall also be provisioned like
- Virtual Network – A Virtual Machine can only reside in Virtual Network so it is mandatory
- Network Security Group – Vnet needs NSG for security reasons
- Network Interface Card – This can be provisioned on VNet level and VM level or both
- Public IP – To access the VM using RDP or HTTP or any allowed protocol
- Disk – It is used for VM’s storage
To access the virtual machine
To access the VM from external sources like RDP or HTTP, you must have Public IP ready. If you have not noted down, then the following command will list all the public and private ip addresses for all the existing VMs in your given resource group.
az vm list-ip-addresses --resource-group vmrg --output table
Or if you remember the virtual machine name, you can optimize the output
az vm list-ip-addresses --resource-group vmrg --name winserver --output table
Output in terminal window

Output on Azure Portal
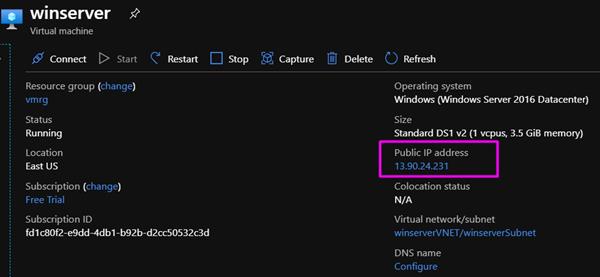
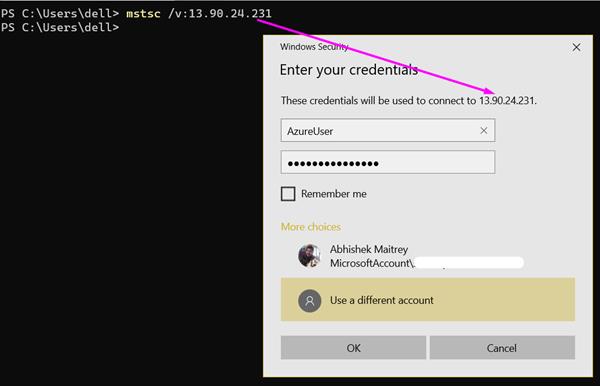
It’s time to access the Virtual Machine. I wish to access my VM through RDP, so will use the following command:
Note: 13.90.24.231 is the Public IP address of my VM.
mstsc /v: 13.90.24.231
The mstsc command is used for RDP and will prompt for the admin user name and password. Here we have to pass the same credentials which we have assigned at the time of creation of VM.
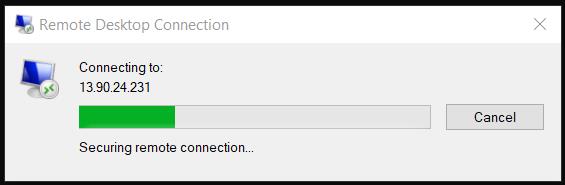
After this, it's start connecting with the remote VM:
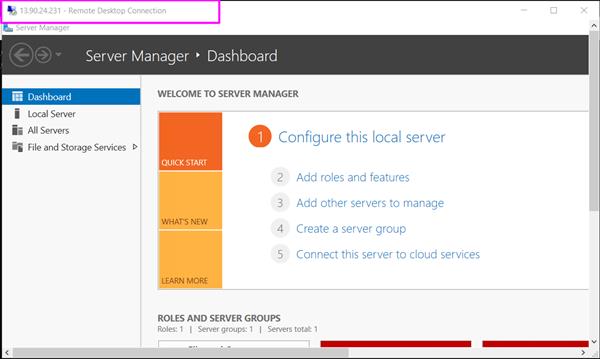
And finally, It's here:
Once you are done with this demo, don’t forget to delete the resources if really not to be used anymore. Otherwise, it will cost even when not in use. Follow the given steps:
To Stop VM
az vm stop --resource-group vmrg --name winserver
To deallocate the VM so that billing can be stopped
az vm deallocate --resource-group vmrg --name winserver
To delete the resource-group
az group delete --name vmrg
