


Understand Azure App Service and Publish a .Net Core 2.2 Web Application
What is Azure App Service?
Azure App Service is an HTTP based service for hosting web applications, REST-APIs and mobile back ends. Azure App Service supports many languages like .NET, .NET Core, Java, Ruby, Node.js, PHP, or Python. So you can choose any language and develop your application and host it on Azure App Service. You can run your application easily on Windows and Linux with auto-scaling. Microsoft Azure gives security, balancing, auto-scaling, and automated management to App Service. There are few more useful advantages Microsoft Azure gives to App Service such as DevOps capabilities, continuous integration and continuous deployment from Azure DevOps, GitHub, Docker Hub, and other sources, package management, staging environments, custom domain, and SSL certificates.
When you create Azure App Service it requires App Service Plan, will discuss later on this, when we create our first web app.
Features of Azure App Service
- Support multiple languages and frameworks: Azure App Service supports NET, ASP.NET Core, Java, Ruby, Node.js, PHP, or Python applications.
- Global scale with high availability: Azure App Service provide scaling feature, you can scale your application manual or auto. You can host your application anywhere in the world by selection the geolocation, and Azure App Service promises high SLA(Service level agreement).
- DevOps: You can set up the CI/CD pipeline using Azure DevOps, GitHub, BitBucket, Docker Hub, or Azure Container Registry.
- Connections to SaaS platforms and on-premises data: You can choose from more than 50 connectors for enterprise systems (such as SAP), service-as-a-software services (such as Salesforce), and the internet services (such as Facebook). Also, get access to on-premises data using Hybrid Connections and Azure Virtual Networks.
- Serverless code: You can run a small piece of code on-demand without needing to manage any infrastructure, and pay only for the compute time your code executes. Function App is an example of it.
- RESTful API: You can run your RESTful APIs with CORS supporting feature.
- Mobile Back ends: You can create mobile backend and host as Azure App Service with enabling the authentication, offline data sync, push notifications, and more.
- Security: Azure App Service is ISO, SOC, and PCI compliant. You can authenticate users with Azure Active Directory or with social logins such as Google, Facebook, Twitter, and Microsoft. Create IP address restrictions and manage service identities.
- Application templates: You can choose an application template from the list of application templates in the Azure Marketplace.
- Visual Studio integration: There are dedicated tools in Visual Studio streamline the work of creating, deploying, and debugging.
- Deployment slots. You can create deployment slots for testing, so you can test your application on the staging environment.
App Service Plans
An Azure App Service runs on the App Service plan which defines a group of computing resources for the web app to run on it. When you create an Azure App Service plan in a particular region, a group of computing resources is being created for that plan in that region. When you host your web application, RESTful API or mobile backend to use that App Service plan, ultimately your application runs on computing resources. An App Service plan defines a region, the number of VM Instances, Size of VM instances such as Small, Medium, Large and Pricing tier such as Free, Shared, Basic, Standard, Premium, PremiumV2, and Isolated. Pricing tiers determine what App Service features you want and how much you pay for that plan. There are a few categories of pricing tiers:
- Shared computer: Free and Shared are the two base tiers that run an app on the same Azure VM as other App Service apps, including apps of other customers. In this tier, an app receives CPU minutes on a shared VM instance and cannot scale-out.
- Dedicated computer: The Basic, Standard, Premium, and PremiumV2 tiers run your apps on dedicated Azure VMs. Only apps in the same App Service plan share the same compute resources. The higher the tier, the more VM instances are available to you for scale-out. Auto-scaling starts from the standard tier.
- Isolated: Isolated tier runs dedicated Azure virtual machines on dedicated Azure Virtual Networks. Isolated tier provides network isolation on top of computing isolation to your apps. It provides the maximum scale-out capabilities to your app.
Create an Azure App Service
There are following tools available to create and manage Azure App Service
- Azure Portal
- Azure CLI
- Azure Power Shell
- Resource manager template
First, we will go with Azure Portal and in the later article will see Azure CLI, Azure Power Shell, and ARM Template.
Let’s create a web app from Azure Portal
First, you have to log in to azure portal whatever subscription you have, if you do not have then get a 30 days free subscription.
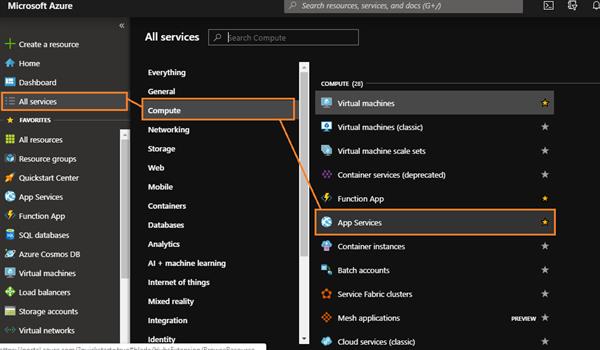
Step1: Go to All Services=> Compute => App Services
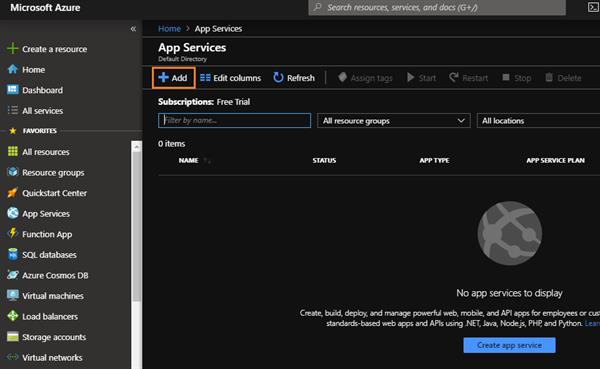
Step2: Click on the Add button.
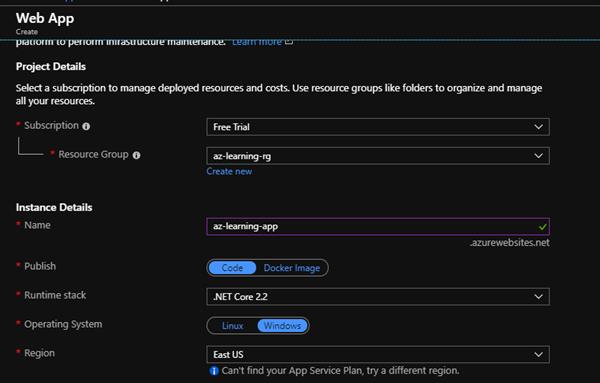
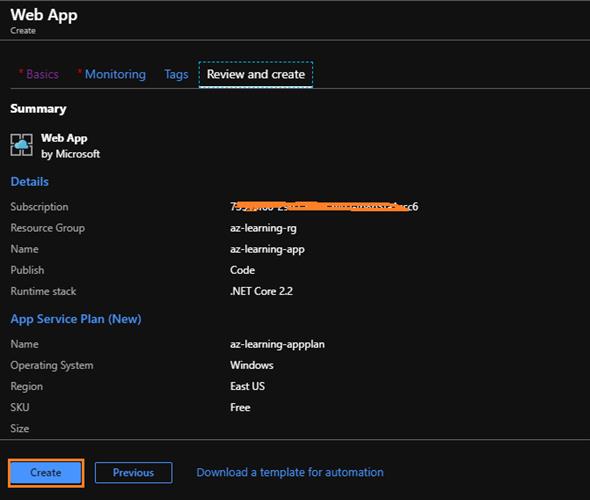
Step3: Fill all the mandatory fields like select subscription as we have Free, select already exist resource group or create new one, give the unique name to web app, select publish whether you are publishing code or Docker image, select runtime stack as we have created .net core 2.2 application, you can choose operating system Windows or Linux, select the app service region that should be nearby you.
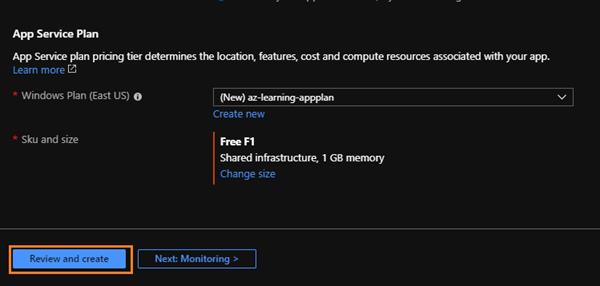
Select the app service plan or create a new one as we have created a new app service plan and kept lowest size Free F1 as we are creating for testing purposes, so there is no sense to take bigger size and pay extra bucks.
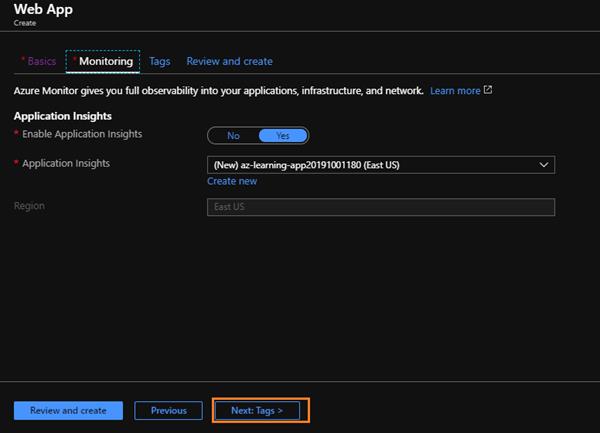
You can hit the “Review and create” button or go Next: Monitoring, Next: Tag and create your app.

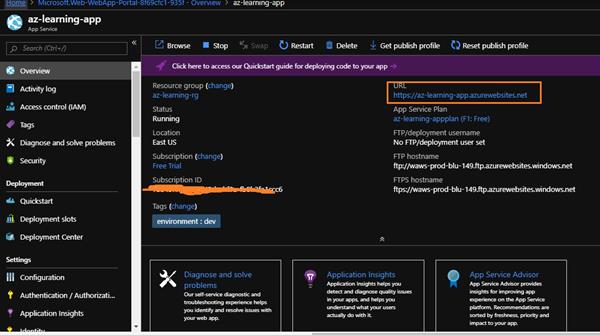
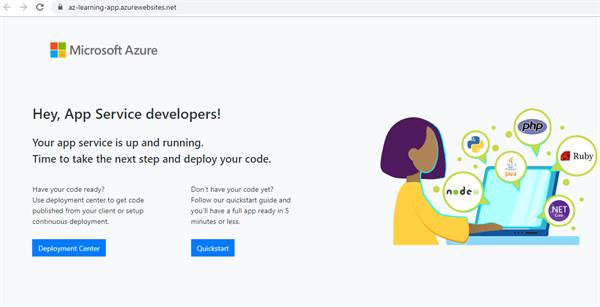
Step4: Now you have created your brand new web app URL is: https://az-learning-app.azurewebsites.net/
You can hit this URL on browser and check, now we did not publish any application into it.
Create a .Net Core 2.2 MVC Web application and publish on App Service
Prerequisites
Install the latest version of Visual Studio 2019 with the ASP.NET and web development workload.
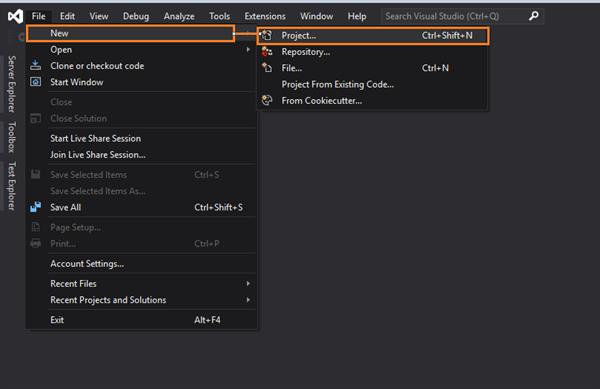
Step1: Open your VS2019, go to File => Project.
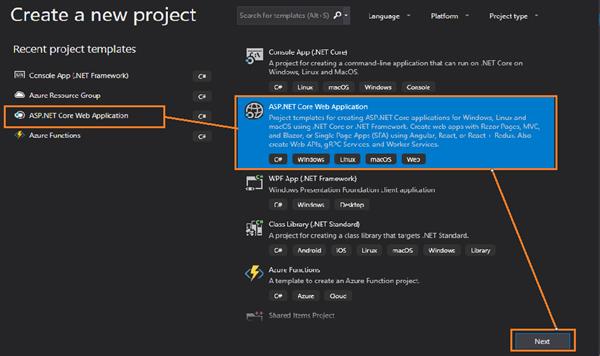
Step2: Select the .net core web and click the Next button.
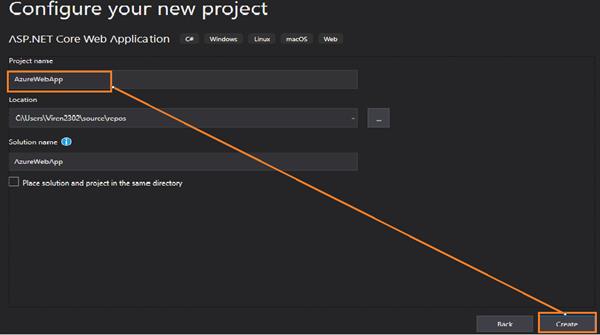
Step3: Give the name of your application and hit the Create button.
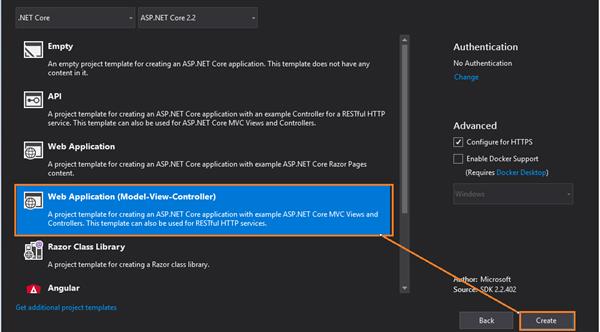
Step4: Select the Application and click on the Create button.
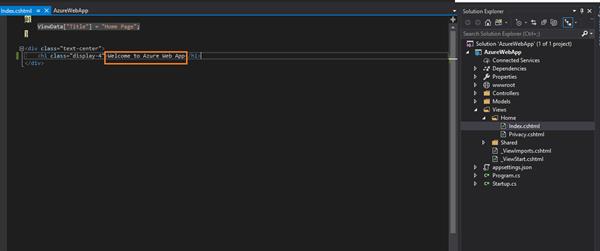
Step5: Open the Index.cshtml page and just edit the text that will be appeared in the browser.
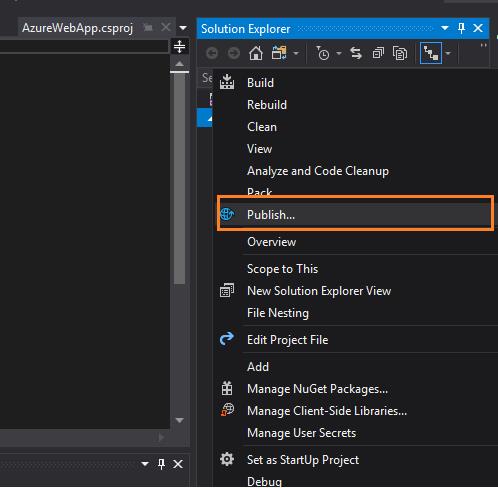
Step6: Right clicks on Application and click on “Publish”.
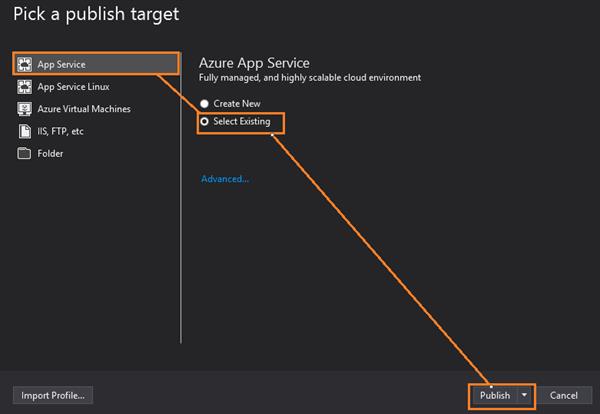
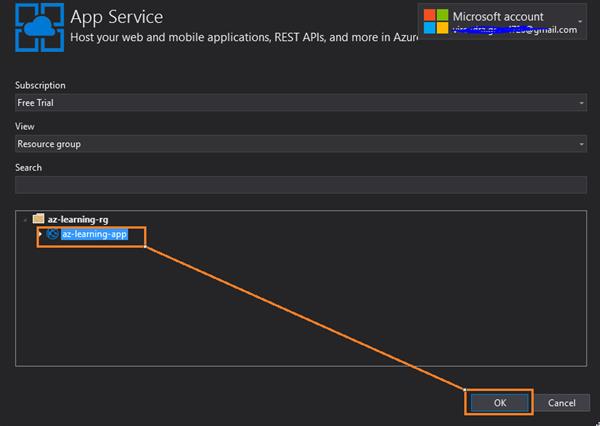
Step7: Select App Service, Select the existing radio button as we already have created App Service from Azure Portal. Click on the Publish button.
Step8: Next, you will get the login screen to login with your subscription, here we already had logged in.
Click on the Ok button after Selecting your subscription, resource group, and App Service.
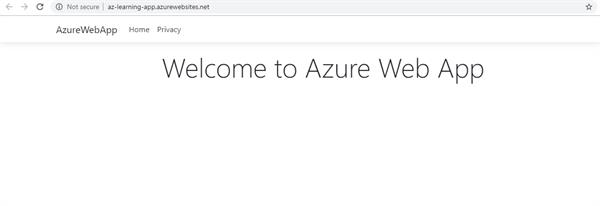
Step9: Go to web app URL is: https://az-learning-app.azurewebsites.net/
and refresh it. You can see, your application has published.
Thank You
