


Virtual Machine in Microsoft Azure Step by Step
Virtual Machine in Microsoft Azure Step by Step
You can create a virtual machine in Azure using one of the following methods:
- A virtual machine is a server in the cloud that you can control and manage. After you create a virtual machine in Azure, you can stop and restart it whenever you need to.
- When you create a virtual machine, it is automatically started for you. You’ll know when a virtual machine is running because its status is Running. You can stop and restart a virtual machine at any time.
- Before you stop a virtual machine, you should make sure that applications running on the virtual machine are shut down appropriately. The applications that are running on a virtual machine are automatically shut down when the virtual machine is stopped.
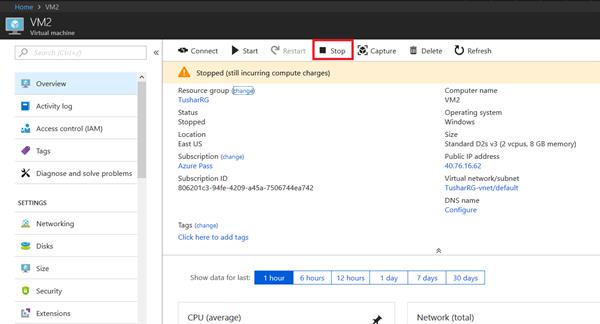
- To stop a virtual machine, click its name, and then click Stop. When you stop the virtual machine, it shuts down just as your server in your office shuts down when you stop it. While the virtual machine is shutting down, its status is stopping. When the virtual machine is stopped, its status is stopped. If you set up load balancing for your cloud service, you should consider how stopping the virtual machine will affect your application.
- When a virtual machine is running and you want to restart it, click its name, and then click Restart. While the virtual machine is restarting, its status is Restarting. When the virtual machine is ready for you to use, its status is Running.
- Create a Resource option in the favorites section click on Virtual Machines
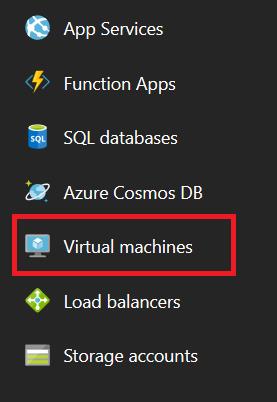
- Click on Add button to add the Virtual Machine

- Since most of us work on Windows so, we are creating a virtual machine for windows
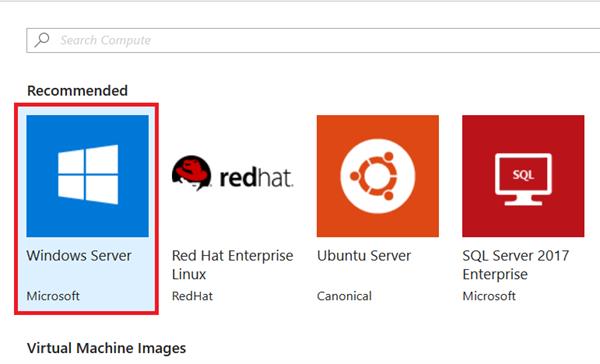
After selecting the Windows Server option select Windows Server 2016 Datacenter, then choose to Create.
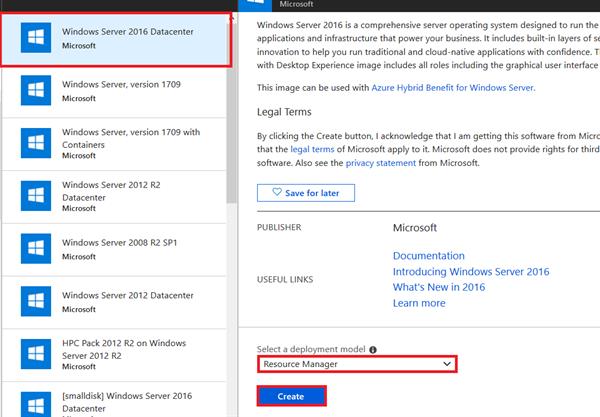
- After clicking on the Create button you will get the 4 options.
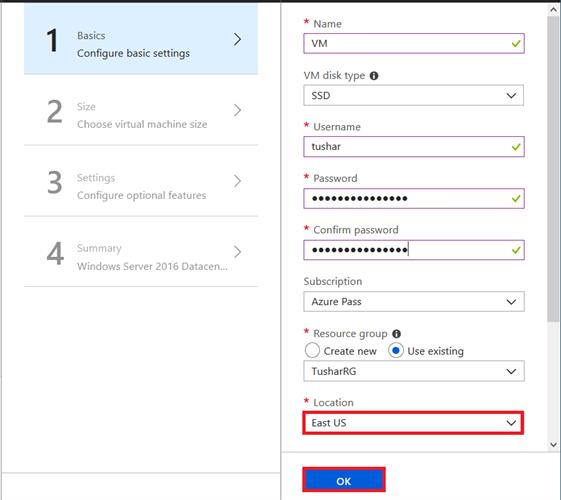
- Basics
In this option fill all the basic details related to the virtual machine and remember the given Username and Password because it will be required during the runtime of the machine.
After giving all the details make sure you get all the Green marks where ever it is required otherwise, a further procedure will not take place.
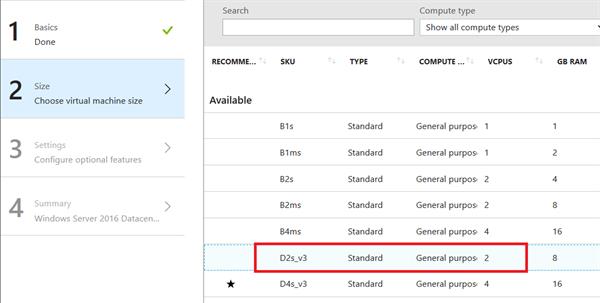
- Size
In this option select the size as shown in the Screenshot and click on Select button.
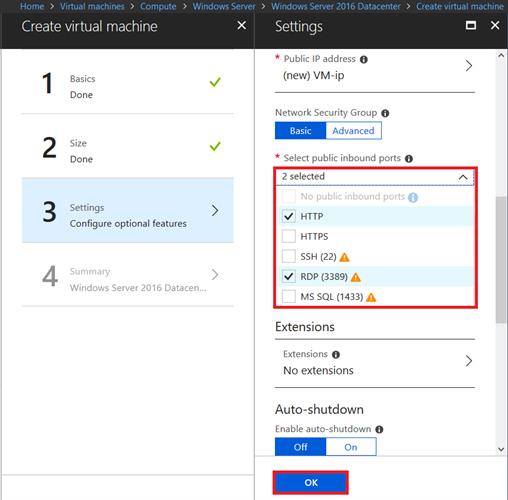
- Settings
On the Settings page, in Network > Network Security Group > Select HTTP and RDP (3389) from the drop-down. Leave the rest of the defaults and select OK.
- Summary
On the summary page, select Create to start the VM deployment. The VM is pinned to the Azure portal dashboard. Once the deployment has completed, the VM summary automatically opens.
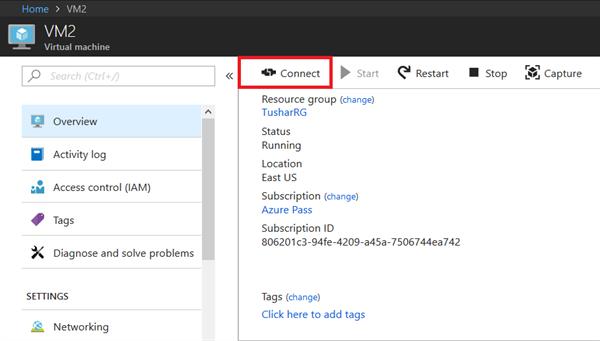
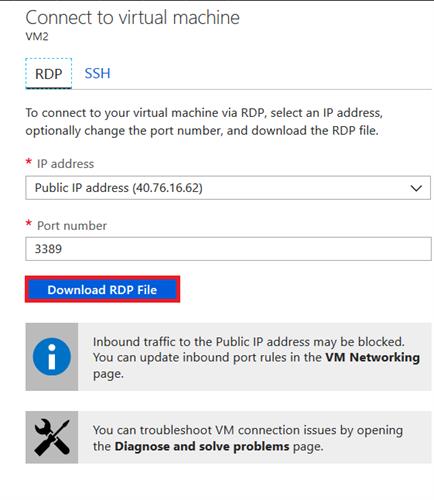
- In the Connect to virtual machine page, keep the default options to connect by DNS name over port 3389 and click Download RDP file.
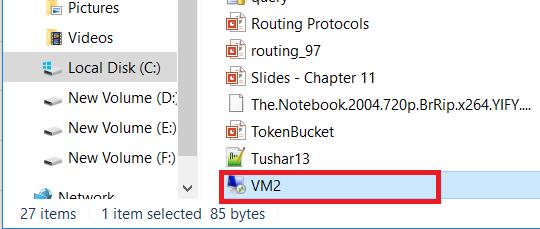
- Open the downloaded RDP file and click Connect when prompted.

- In the Windows Security window, select more choices and then Use a different account. Type the username and password you created for the virtual machine, and then click OK.

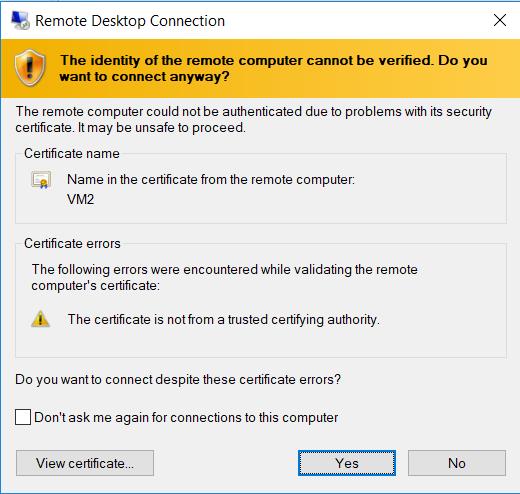
You may receive a certificate warning during the sign-in process.
Click yes or continue to create the connection.
Here is the Dashboard.
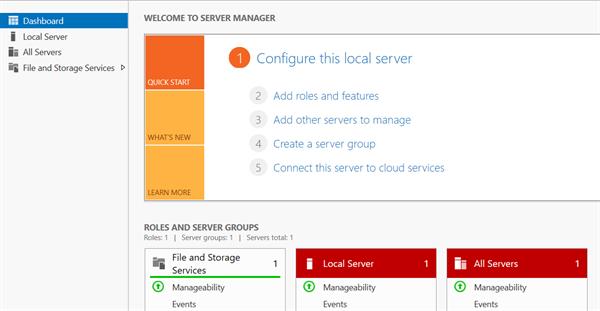
- Go to the ―All Servers and check the server name.
- Click on to ―All Servers, you will find ―VM2 server is available there.
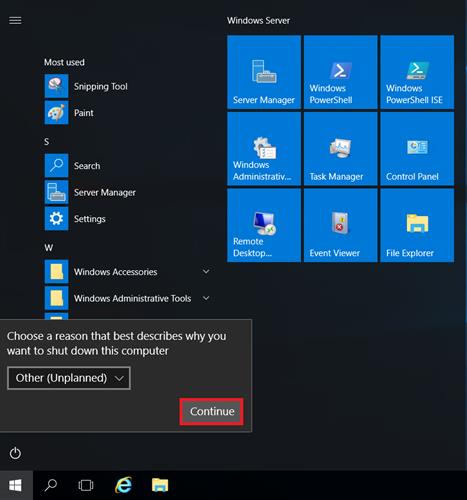
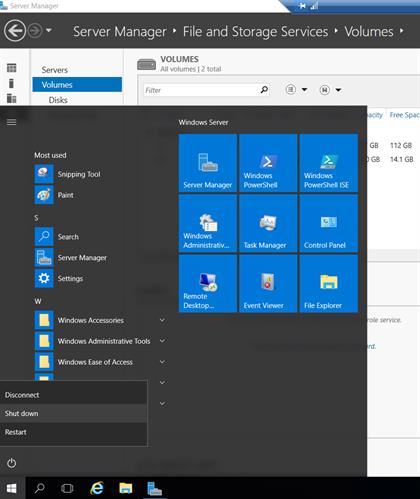
- Make sure you don't forget to shut down your VM after completing your work. You can shut down it from shutdown option as in the following:
- Now, I’m going to add extra space in machine and an extra disk drive on it. For this, select your appropriate Virtual Machine and click on ―disks available in the settings.
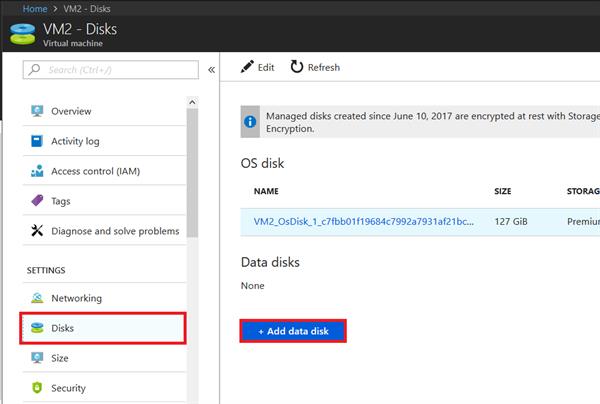
- Now click on Create Disk and then add the following details.

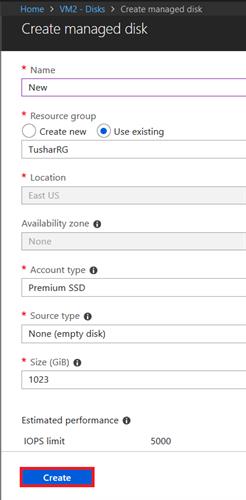
- It will ask to fill in the details for the empty disk.
- It will take Disk name (New), which I have given.
- Now rest will remain as it is as shown in the Screenshot.
- Now click on Create
The new disk will automatically connect if you are running the .rdp file also.
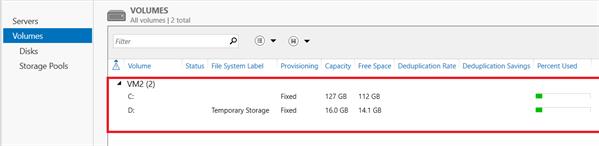
This is before making the new disk.
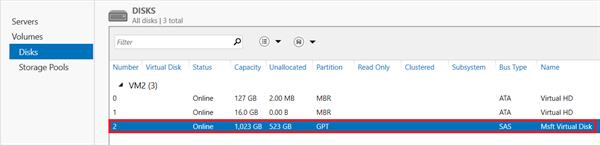
This is after making the new disk.
Make sure, click on ―Shut Down button to shut your virtual machine.