


What is VueJs Transition and Animation | VueJs Tutorials
VueJS - Transition and Animation
Transition
VueJS provides different approaches to apply the transition to the HTML elements when they are included/updated in the DOM. VueJS has a built-in component that needs to be wrapped over the element, which needs transition.
Syntax
<transition name = "nameoftransition">
   <div></div>
</transition>
Let us consider an example to understand the working of transition.
Example
<html>
   <head>
      <title>VueJs Instance</title>
      <script type = "text/javascript" src = "js/vue.js"></script>
   </head>
   <body>
      <style>
         .fade-enter-active, .fade-leave-active {
            transition: opacity 2s
         }
         .fade-enter, .fade-leave-to /* .fade-leave-active below version 2.1.8 */ {
            opacity: 0
         }
      </style>
      <div id = "databinding">
         <button v-on:click = "show = !show">Click Me</button>
         <transition name = "fade">
            <p v-show = "show" v-bind:style = "styleobj">Animation Example</p>
         </transition>
      </div>
      <script type = "text/javascript">
         var vm = new Vue({
            el: '#databinding',
            data: {
               show:true,
               styleobj :{
                  fontSize:'30px',
                  color:’blue’
               }
            },
            methods : {
            }
         });
      </script>
   </body>
</html>
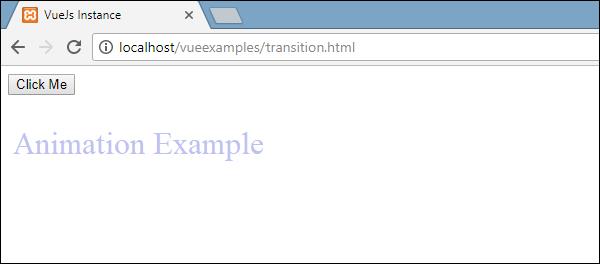
There is a button called click me created utilizing which we can change the value of the variable show to true with false and vice versa. There is a p tag that shows the text element only if the variable is true. We have wrapped the p tag with the transition element as shown in the following bit of code.
<transition name = "fade">
   <p v-show = "show" v-bind:style = "styleobj">Animation Example</p>
</transition>
The name of the transition is fade. VueJS provides some standard classes for transition and the classes are prefixed with the name of the transition.
Following are some standard classes for transition −
- v-enter − This class is called initially before the element is updated/added. Its the starting state.
- v-enter-active − This class is used to define the delay, duration, and easing curve for entering in the transition phase. This is the active state for the entire and the class is available during the entire entering phase.
- v-leave − Added when the leaving transition is triggered, removed.
- v-leave-active − Applied during the leaving phase. It is removed when the transition is done. This class is used to apply the delay, duration, and easing curve during the leaving phase.
Each of the above classes will be prefixed with the name of the transition. We have given the name of the transition as fade, hence the name of the classes becomes .fade_enter, .fade_enter_active, .fade_leave, .fade_leave_active.
They are defined in the following code.
<style>
   .fade-enter-active, .fade-leave-active {
      transition: opacity 2s
   }
   .fade-enter, .fade-leave-to /* .fade-leave-active below version 2.1.8 */ {
      opacity: 0
   }
</style>
The .fade_enter_active and .fade_leave_active are defined together and it applies a transition at the start and at the leaving stage. The opacity property is changed to 0 in 2 seconds.
The duration is defined in the .fade_enter_active and .fade_leave_active. The final stage is defined in the .fade_enter, .fade_leave_to.
The display in the browser is as follows.

On the click of the button, the text will fade away in two seconds.
After two seconds, the text will disappear completely.
Let us consider another example, where there is an image and it is shifted on the x-axis when the button is clicked.
Example
<html>
   <head>
      <title>VueJs Instance</title>
      <script type = "text/javascript" src = "js/vue.js"></script>
   </head>
   <body>
      <style>
         .shiftx-enter-active, .shiftx-leave-active {
            transition: all 2s ease-in-out;
         }
         .shiftx-enter, .shiftx-leave-to /* .fade-leave-active below version 2.1.8 */ {
            transform :  translateX(100px);
         }
      </style>
      <div id = "databinding">
         <button v-on:click = "show = !show">Click Me</button>
         <transition name = "shiftx">
            <p v-show = "show">
               <img src = "images/ichigo.jpg" style = "width:100px;height:100px;" />
            </p>
         </transition>
      </div>
      <script type = "text/javascript">
         var vm = new Vue({
            el: '#databinding',
            data: {
               show:true
            },
            methods : {
            }
         });
      </script>
   </body>
</html>
The name of the transition is shiftx. A transform property is used to shift the image on the x-axis by 100px using the following piece of code.
<style>
   .shiftx-enter-active, .shiftx-leave-active {
      transition: all 2s ease-in-out;
   }
   .shiftx-enter, .shiftx-leave-to /* .fade-leave-active below version 2.1.8 */ {
      transform :  translateX(100px);
   }
</style>
The following is the output.
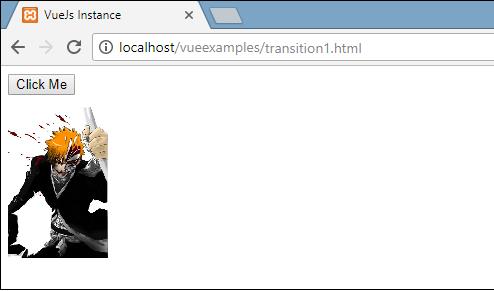
On the click of the button, the image will shift 100px towards the right as shown in the following screenshot.

Animation
Animations are applied in the same way as the transition is done. Animation also has classes that need to be declared for the effect to take place.
Let us consider an example to see how animation works.
Example
<html>
   <head>
      <title>VueJs Instance</title>
      <script type = "text/javascript" src = "js/vue.js"></script>
   </head>
   <body>
      <style>
         .shiftx-enter-active {
            animation: shift-in 2s;
         }
         .shiftx-leave-active {
            animation: shift-in 2s reverse;
         }
         @keyframes shift-in {
            0%   {transform:rotateX(0deg);}
            25%  {transform:rotateX(90deg);}
            50%  {transform:rotateX(120deg);}
            75%  {transform:rotateX(180deg);}
            100% {transform:rotateX(360deg);}
         }
      </style>
      <div id = "databinding">
         <button v-on:click = "show = !show">Click Me</button>
         <transition name = "shiftx">
            <p v-show = "show">
               <img src = "images/ichigo.jpg" style = "width:100px;height:100px;" />
            </p>
         </transition>
      </div>
      <script type = "text/javascript">
         var vm = new Vue({
            el: '#databinding',
            data: {
               show:true
            },
            methods : {
            }
         });
      </script>
   </body>
</html>
To apply animation, there are classes the same as transition. In the above code, we have an image enclosed in p tag as shown in the following piece of code.
<transition name = "shiftx">
   <p v-show = "show"><img src = "images/img.jpg" style = "width:100px;height:100px;" /></p>
</transition>
The name of the transition is shiftx. The class applied is as follows −
<style>
   .shiftx-enter-active {
      animation: shift-in 2s;
   }
   .shiftx-leave-active {
      animation: shift-in 2s reverse;
   }
   @keyframes shift-in {
      0%   {transform:rotateX(0deg);}
      25%  {transform:rotateX(90deg);}
      50%  {transform:rotateX(120deg);}
      75%  {transform:rotateX(180deg);}
      100% {transform:rotateX(360deg);}
   }
</style>
The class is prefixed with the transition name, i.e. shiftx-enter-active and .shiftx-leave-active. The animation is defined with the keyframes from 0% to 100%. There is a transform defined at each of the keyframes is as shown in the following piece of code.
@keyframes shift-in {
0% {transform:rotateX(0deg);}
25% {transform:rotateX(90deg);}
50% {transform:rotateX(120deg);}
75% {transform:rotateX(180deg);}
100% {transform:rotateX(360deg);}
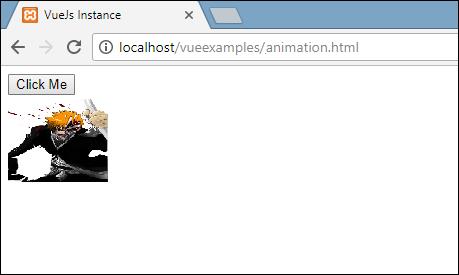
}The following is the output.
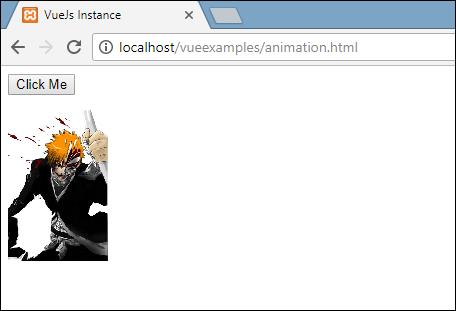
On clicking the button, it rotates from 0 to 360 degrees and disappears.
Custom Transition Classes
VueJS provides a list of custom classes, which can be added as attributes to the transition element.
- enter-class
- enter-active-class
- leave-class
- leave-active-class
Custom classes basically come into play when we want to use an external CSS library such as animate.css.
Example
<html>
<head>
<link href = "https://cdn.jsdelivr.net/npm/animate.css@3.5.1" rel = "stylesheet" type = "text/css">
<script type = "text/javascript" src = "js/vue.js"></script>
</head>
<body>
<div id = "animate" style = "text-align:center">
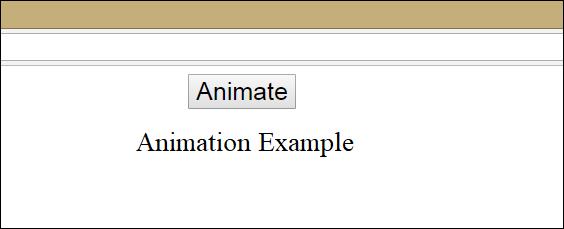
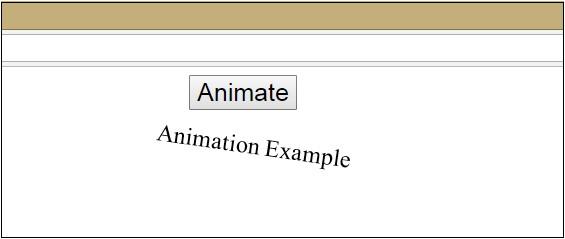
<button @click = "show = !show"><span style = "font-size:25px;">Animate</span></button>
<transition
name = "custom-classes-transition"
enter-active-class = "animated swing"
leave-active-class = "animated bounceIn">
<p v-if = "show"><span style = "font-size:25px;">Animation Example</span></p>
</transition>
</div>
<script type = "text/javascript">
var vm = new Vue({
el: '#animate',
data: {
show: true
}
});
</script>
</body>
</html>
Output
Output
Output
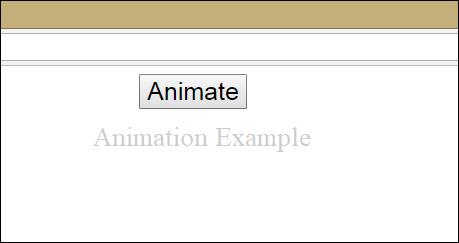
There are two animations applied in the above code. One enter-active-class = “animated swing” and another leave-active-class = ”animated bounceIn”. We are making the use of custom animation classes for the animation to be applied from the third party library.
Explicit Transition Duration
We can apply transition and animation on the element using VueJS. Vue waits for the transitioned and animation end event to detect if the animation or transition is done.
Sometimes the transition can cause delays. In such cases, we can apply the duration explicitly as follows.
<transition :duration = "1000"></transition>
<transition :duration = "{ enter: 500, leave: 800 }">...</transition>
We can use the duration property with a: on the transition element as shown above. In case there is a need to specify the duration separately for entering and leaving, it can be done as shown in the above piece of code.
JavaScript Hooks
The transition classes can be called as methods using JavaScript events. Let us consider an example for better understanding.
Example
<html>
   <head>
      <title>VueJs Instance</title>
      <script type = "text/javascript" src = "js/vue.js"></script>
   </head>
   <body>
      <script src = "https://cdnjs.cloudflare.com/ajax/libs/velocity/1.2.3/velocity.min.js"></script>
      <div id = "example-4">
         <button @click = "show = !show">
            <span style = "font-size:25px;">Toggle</span>
         </button>
         <transition  v-on:before-enter = "beforeEnter"
            v-on:enter = "enter"
            v-on:leave = "leave"
            v-bind:css = "false">
            <p v-if = "show" style = "font-size:25px;">Animation Example with velocity</p>
         </transition>
      </div>
      <script type = "text/javascript">
         var vm = new Vue({
            el: '#example-4',
            data: {
               show: false
            },
            methods: {
               beforeEnter: function (el) {
                  el.style.opacity = 0
               },
               enter: function (el, done) {
                  Velocity(el, { opacity: 1, fontSize: '25px' }, { duration: 1000 })
                  Velocity(el, { fontSize: '10px' }, { complete: done })
               },
               leave: function (el, done) {
                  Velocity(el, { translateX: '15px', rotateZ: '50deg' }, { duration: 1500 })
                  Velocity(el, { rotateZ: '100deg' }, { loop: 2 })
                  Velocity(el, {
                     rotateZ: '45deg',
                     translateY: '30px',
                     translateX: '30px',
                     opacity: 0
                  }, { complete: done })
               }
            }
         });
      </script>
   </body>
</html>
Output
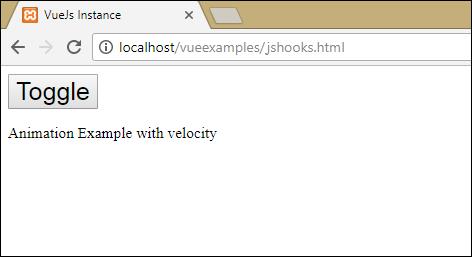
In the above example, we are performing animation using js methods on the transition element.
The methods on transition are applied as follows −
<transition  v-on:before-enter = "beforeEnter"
   v-on:enter = "enter"
   v-on:leave = "leave"
   v-bind:css = "false">
   <p v-if = "show" style = "font-size:25px;">Animation Example with velocity</p>
</transition>
There is a prefix added v-on and the name of the event to which the method is called. The methods are defined in the Vue instance as follows −
methods: {
   beforeEnter: function (el) {
      el.style.opacity = 0
   },
   enter: function (el, done) {
      Velocity(el, { opacity: 1, fontSize: '25px' }, { duration: 1000 })
      Velocity(el, { fontSize: '10px' }, { complete: done })
   },
   leave: function (el, done) {
      Velocity(el, { translateX: '15px', rotateZ: '50deg' }, { duration: 1500 })
      Velocity(el, { rotateZ: '100deg' }, { loop: 2 })
      Velocity(el, {
         rotateZ: '45deg',
         translateY: '30px',
         translateX: '30px',
         opacity: 0
      }, { complete: done })
   }
}
The required transition is applied to each of these methods. There is an opacity animation applied on the click of the button and also when the animation is done. A third-party library is used for animation.
There is a property added on transition v-bind:css = "false", which is done so that Vue understands it is a JavaScript transition.
Transition at the Initial Render
In order to add animation at the start, we need to add ‘appear’ property to the transition element.
Let’s look at an example to understand it better.
Example
<html>
   <head>
      <link href = "https://cdn.jsdelivr.net/npm/animate.css@3.5.1" rel = "stylesheet" type = "text/css">
      <script type = "text/javascript" src = "js/vue.js"></script>
   </head>
   <body>
      <div id = "animate" style = "text-align:center">
         <transition
            appear
            appear-class = "custom-appear-class"
            appear-active-class = "animated bounceIn">
            <h1>BounceIn - Animation Example</h1>
         </transition>
         <transition
            appear
            appear-class = "custom-appear-class"
            appear-active-class = "animated swing">
            <h1>Swing - Animation Example</h1>
         </transition>
         <transition
            appear
            appear-class = "custom-appear-class"
            appear-active-class = "animated rubberBand">
            <h1>RubberBand - Animation Example</h1>
         </transition>
      </div>
      <script type = "text/javascript">
         var vm =  new Vue({
            el: '#animate',
            data: {
               show: true
            }
         });
      </script>
   </body>
</html>
In the above example, we have used three different animations from animate.css library. We have added appear to the transition element.
On execution of the above code, the following will be the output in the browser.

Animation on Components
We can wrap the transition for the components using the following code. We have used dynamic component here.
Example
<html>
   <head>
      <title>VueJs Instance</title>
      <script type = "text/javascript" src = "js/vue.js"></script>
      <link href = "https://cdn.jsdelivr.net/npm/animate.css@3.5.1" rel = "stylesheet" type = "text/css">
   </head>
   <body>
      <div id = "databinding" style = "text-align:center;">
         <transition  appear
            appear-class = "custom-appear-class"
            appear-active-class = "animated wobble">
            <component v-bind:is = "view"></component>
         </transition>
      </div>
      <script type = "text/javascript">
         var vm = new Vue({
            el: '#databinding',
            data: {
               view: 'component1'
            },
            components: {
               'component1': {
                  template: '<div><span style = "font-
                  size:25;color:blue;">Animation on Components</span></div>'
               }
            }
         });
      </script>
   </body>
</html>
Output

